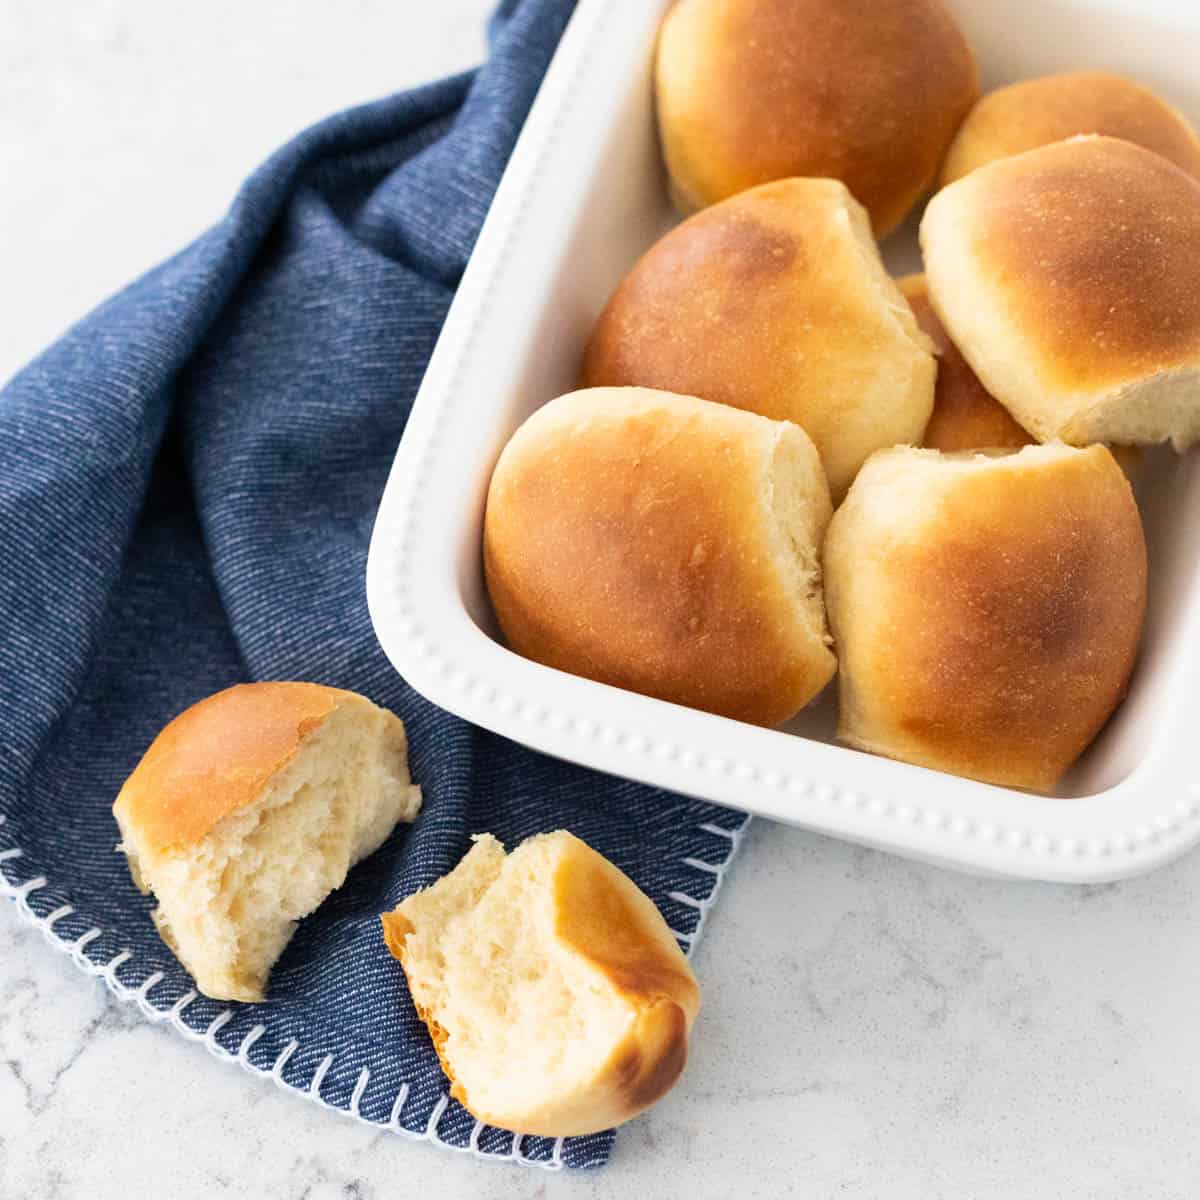
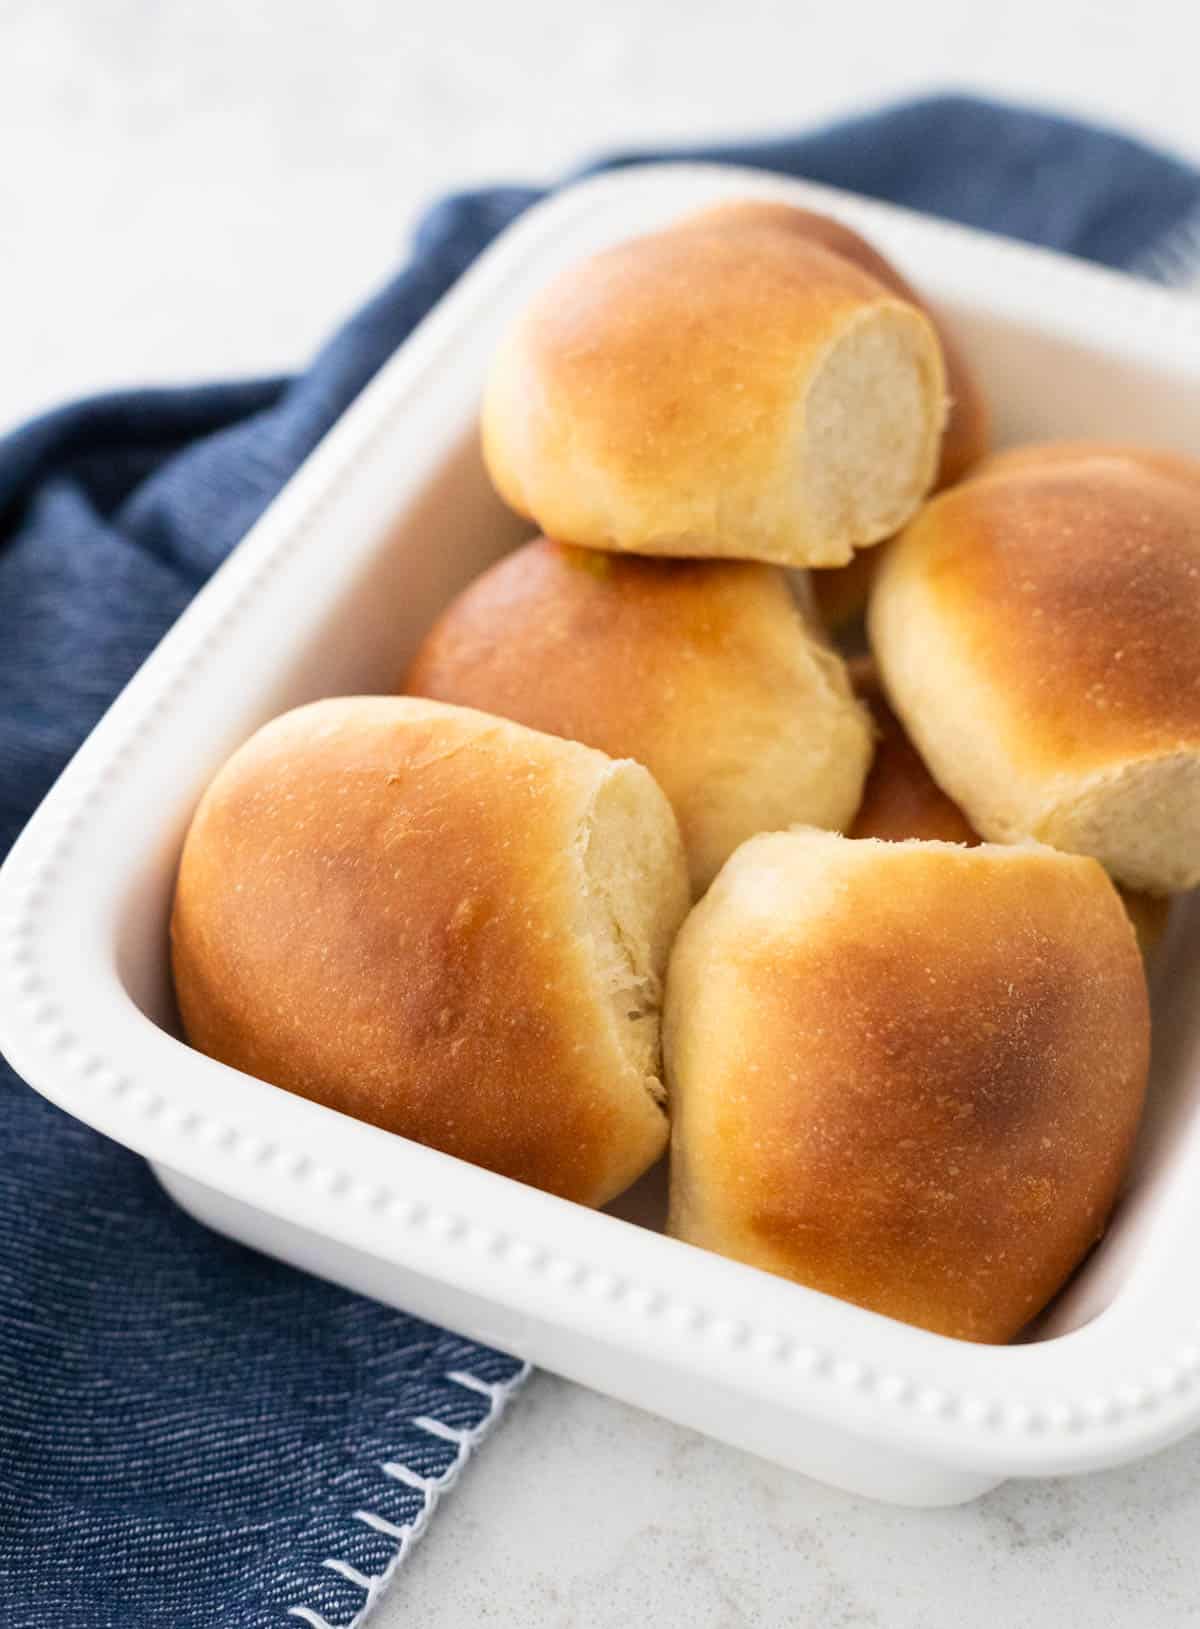
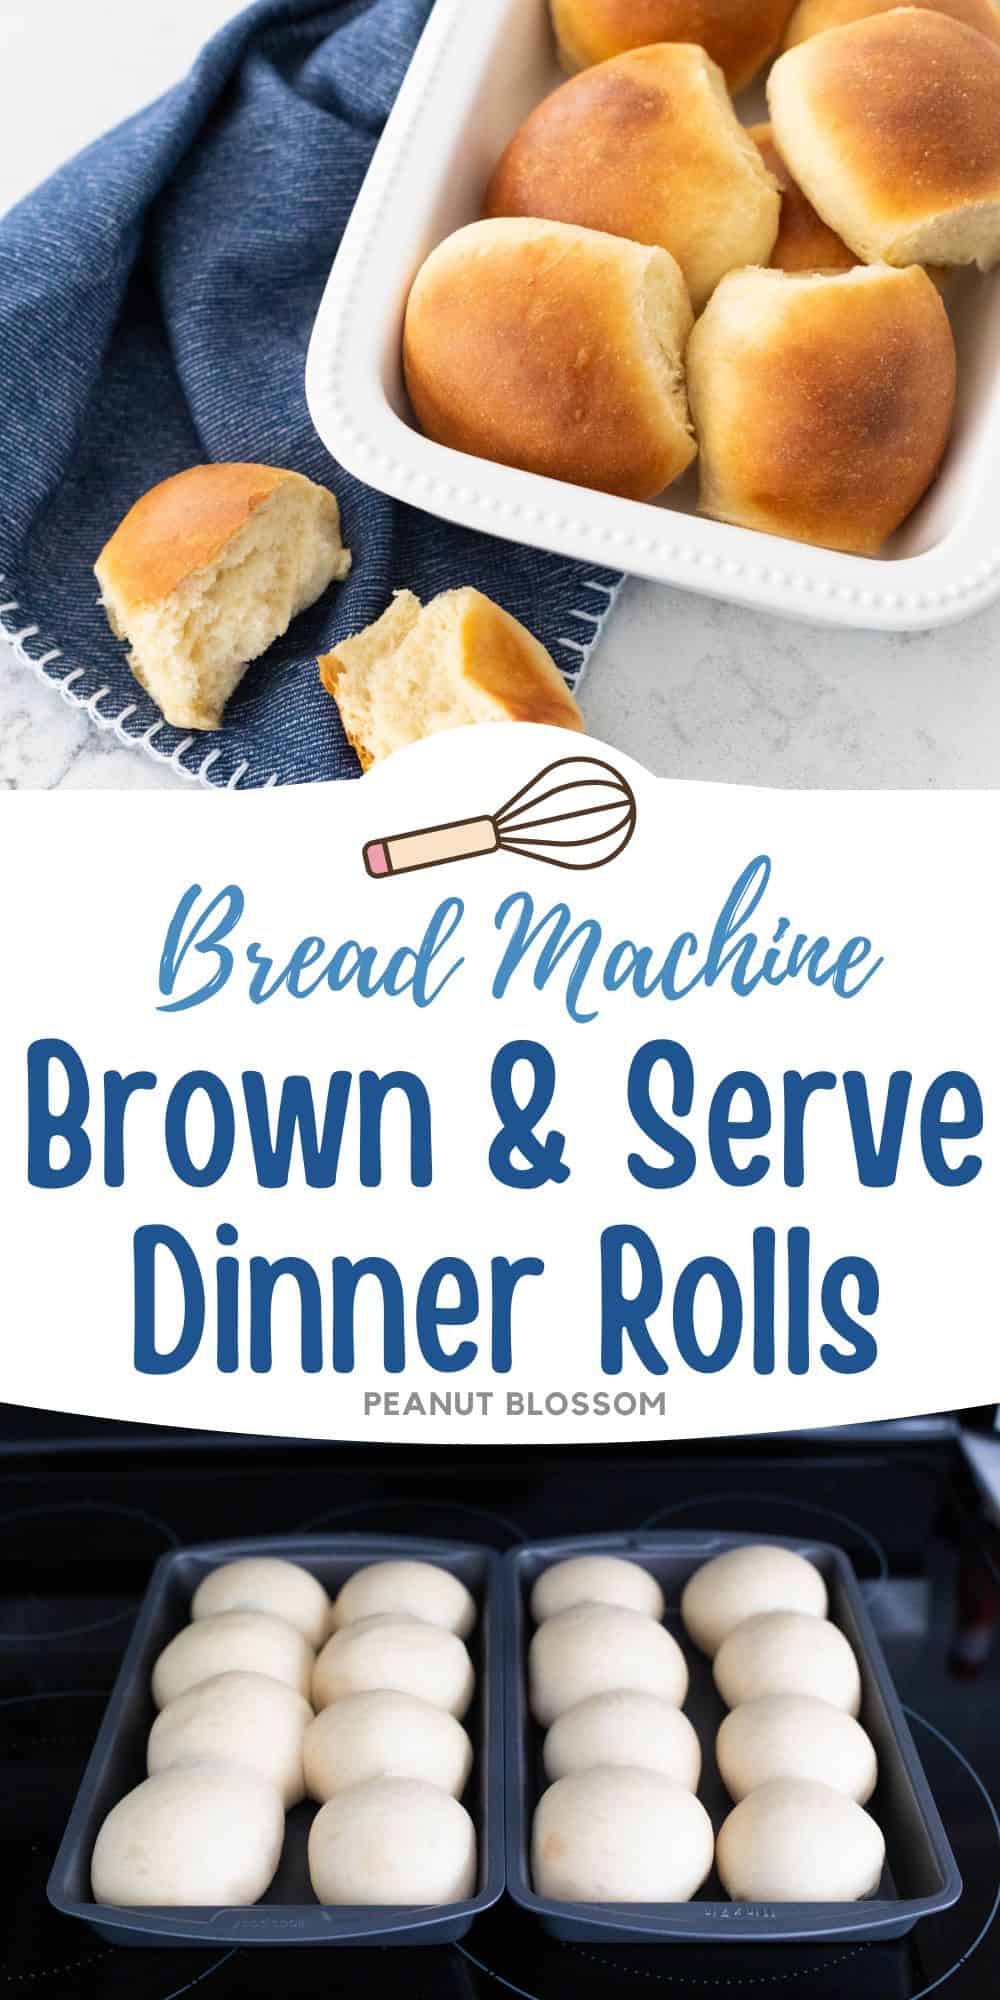
Brown and serve dinner rolls are so easy to prep ahead of your holiday feast when you make the dough in a bread machine. Pre-bake the rolls and freeze them for up to 3 weeks. Then simply brown and serve warm at dinner.
Warm, fresh bread is all the difference between an amazing dinner and a ho-hum one.
Want to make a weeknight family dinner or your next holiday feast extra special? Prep a batch or two of these super easy brown and serve dinner rolls.
You can keep them in the fridge or stash them in the freezer for a from-scratch, fresh baked bread to serve in just minutes.
Why This is the Best Recipe
As the author of The Ultimate Bread Machine Cookbook, I'm very passionate about homemade bread but I need easy recipes I can make in minutes.
I promise this is the best brown and serve dinner rolls recipe because:
- Easy Dough: With just 5 minutes, you can dump all the ingredients into the bread maker pan and press a button. Then walk away for an hour and a half.
- Quick Forming: Rolling the dinner rolls takes just 10 minutes. You don't even have to grease the pans!
- Freezer-Friendly: One batch makes 16 rolls in 2 smaller pans or 1 big pan. You could use half for dinner tonight and the other half for a special meal another time or go ahead and just freeze the whole batch to get a jump start on the holidays.
Ingredients

My buttery, fluffy dinner rolls only need a few simple pantry basics:
- Milk: I used 2%. Whole milk would be an excellent choice but I would avoid fat-free milk.
- Honey: I used bulk honey from Costco but a specialty honey would really be a great choice, the flavor will shine through. For fun, why not try making a spicy version with hot honey??
- Eggs
- Butter
- All-Purpose Flour
- Kosher Salt
- Active Dry Yeast: You don't need to use one that is labeled "bread machine yeast" but that would also work if it is what you have.
Make the Dough in the Bread Maker
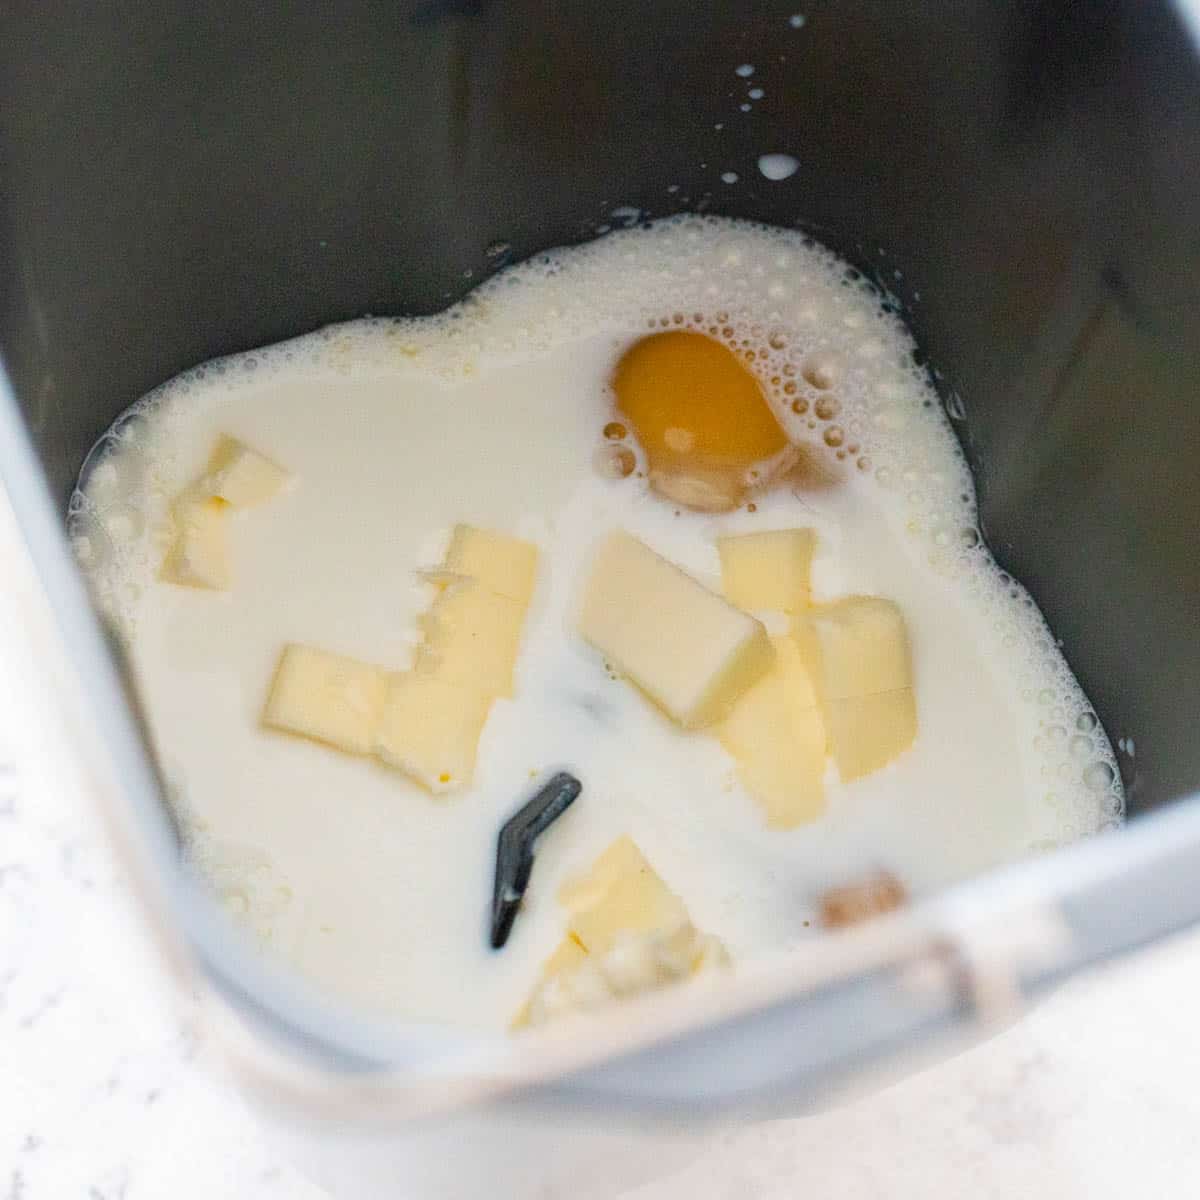
To make the dinner roll dough in the bread machine, we start the way all my bread machine recipes do: Add all the liquid ingredients first.
Add the milk, butter, honey, and eggs to the bottom of the bread pan with the paddle attachment already in place.
I always dice my softened butter. The smaller pieces blend into the dough much better than a big chunk of uncut butter would.
Then add the dry ingredients to the bread pan right on top of the wet ingredients.
Add the flour and kosher salt. Then dig a little well in the center and place the yeast there like this:
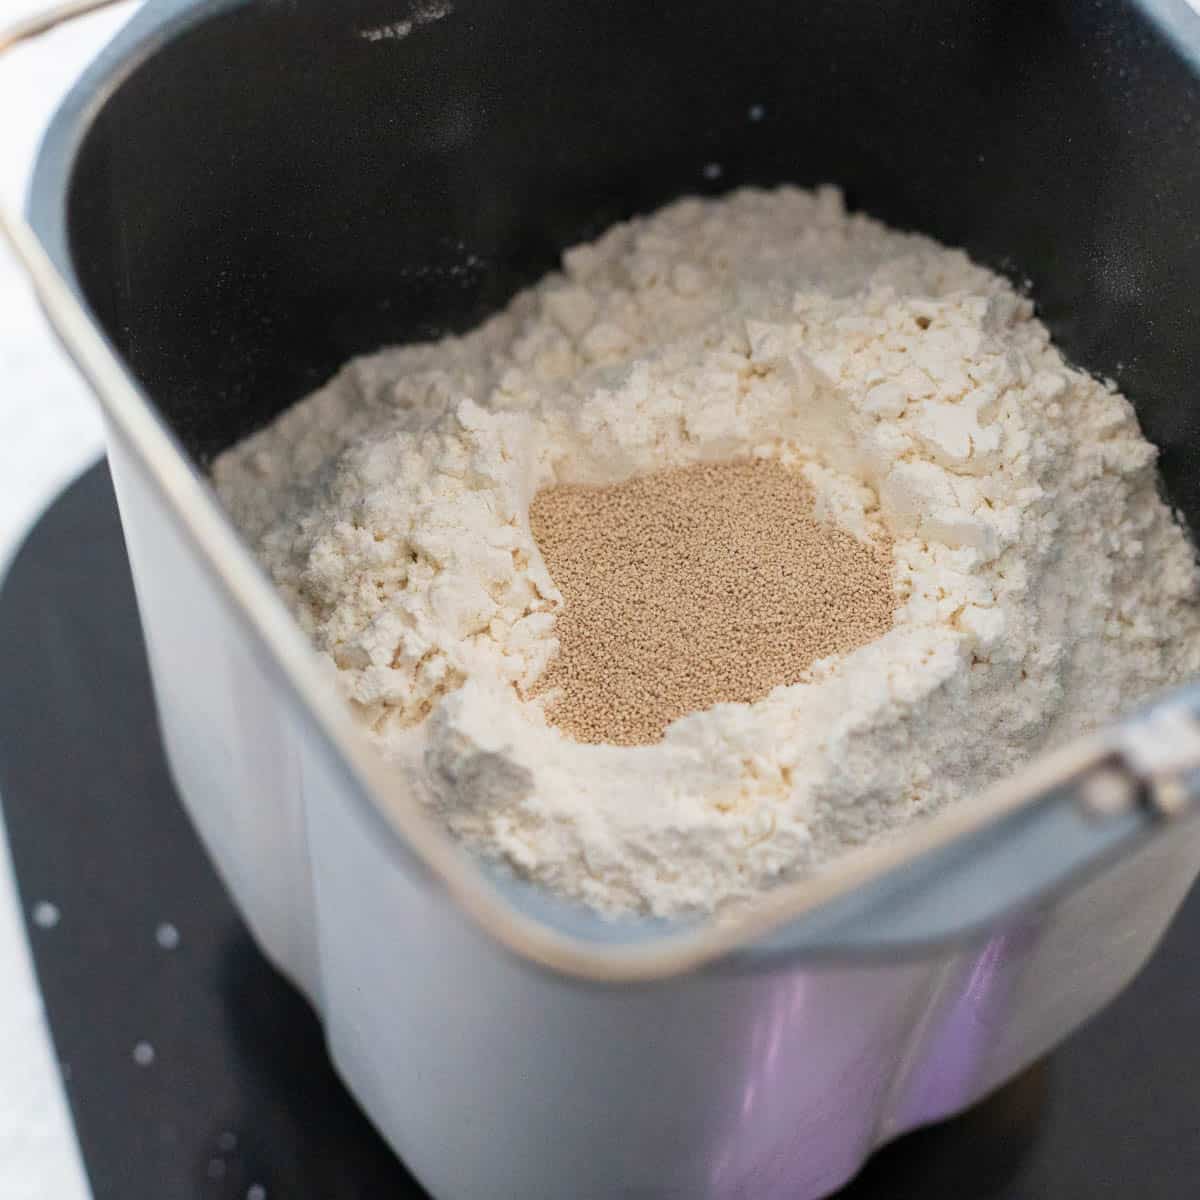
Place the bread pan in the bread maker.
Select the DOUGH program and press START. The machine should take about 90 minutes to complete the cycle.
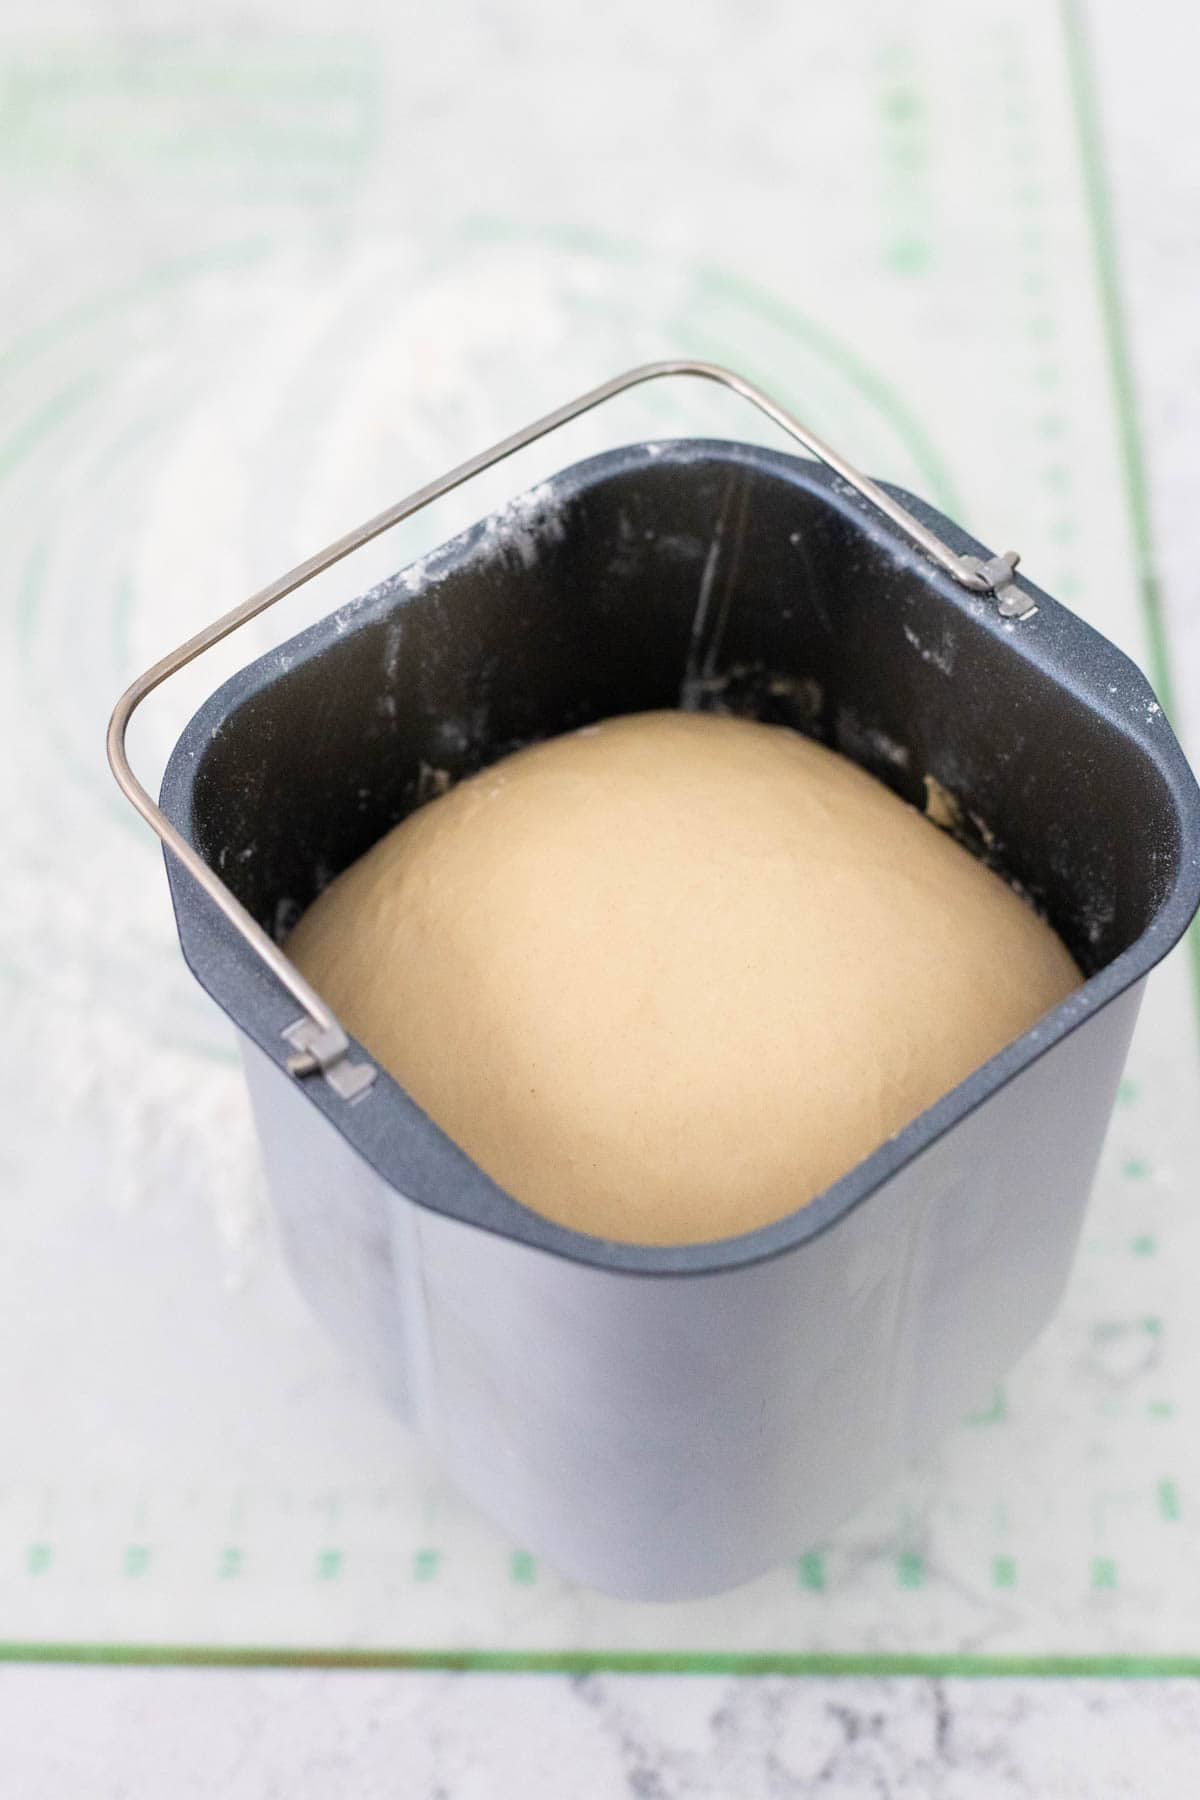
Shape the Dinner Rolls
Transfer the dough to a lightly floured baking surface.
Use a pastry cutter to divide the dough in half. Shape each half into an even log shape to make it easier to divide again.
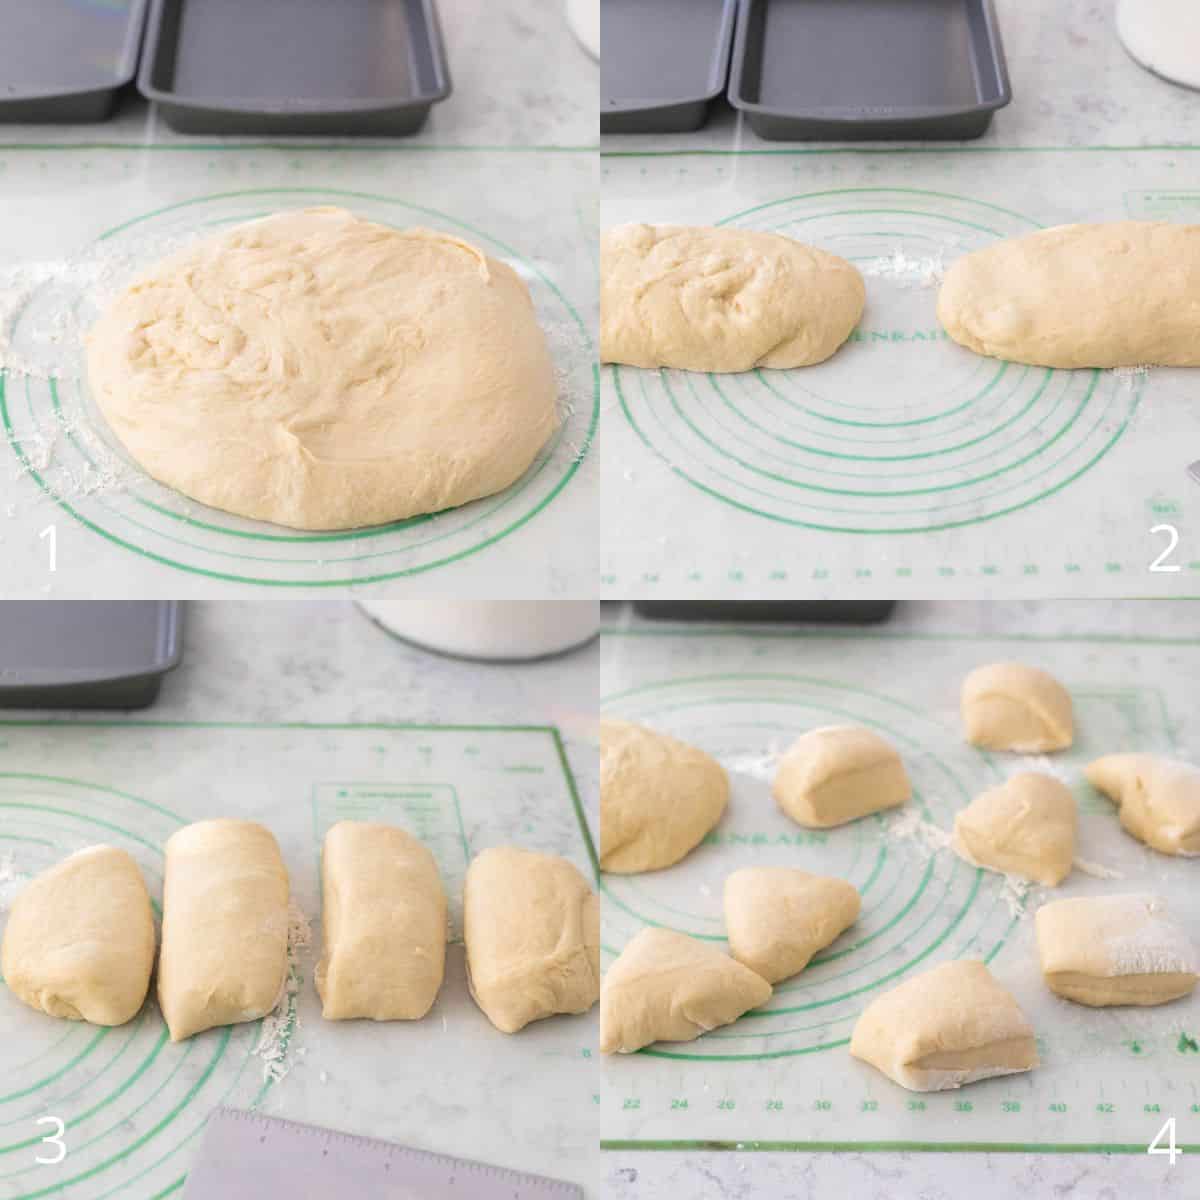
Take one half and cut it in four equal pieces. It's easiest to cut it in half and then each piece in half again.
Then cut each of the four pieces into half again. You'll have 8 pieces total.
Repeat with the other half of the original dough to make a total of 16 pieces.
Take each portion of dough and shape it into your preferred dinner roll shape. I love to keep things easy with little round buns.
Line them up as you shape them in an ungreased baking pan.
I used 2 11x7-inch baking pans (the same ones I used for this Monster Book of Monsters cake) and they worked perfectly.
You could use a 9x13-inch pan, 2 8x8-inch pans, or 2 cake pans.
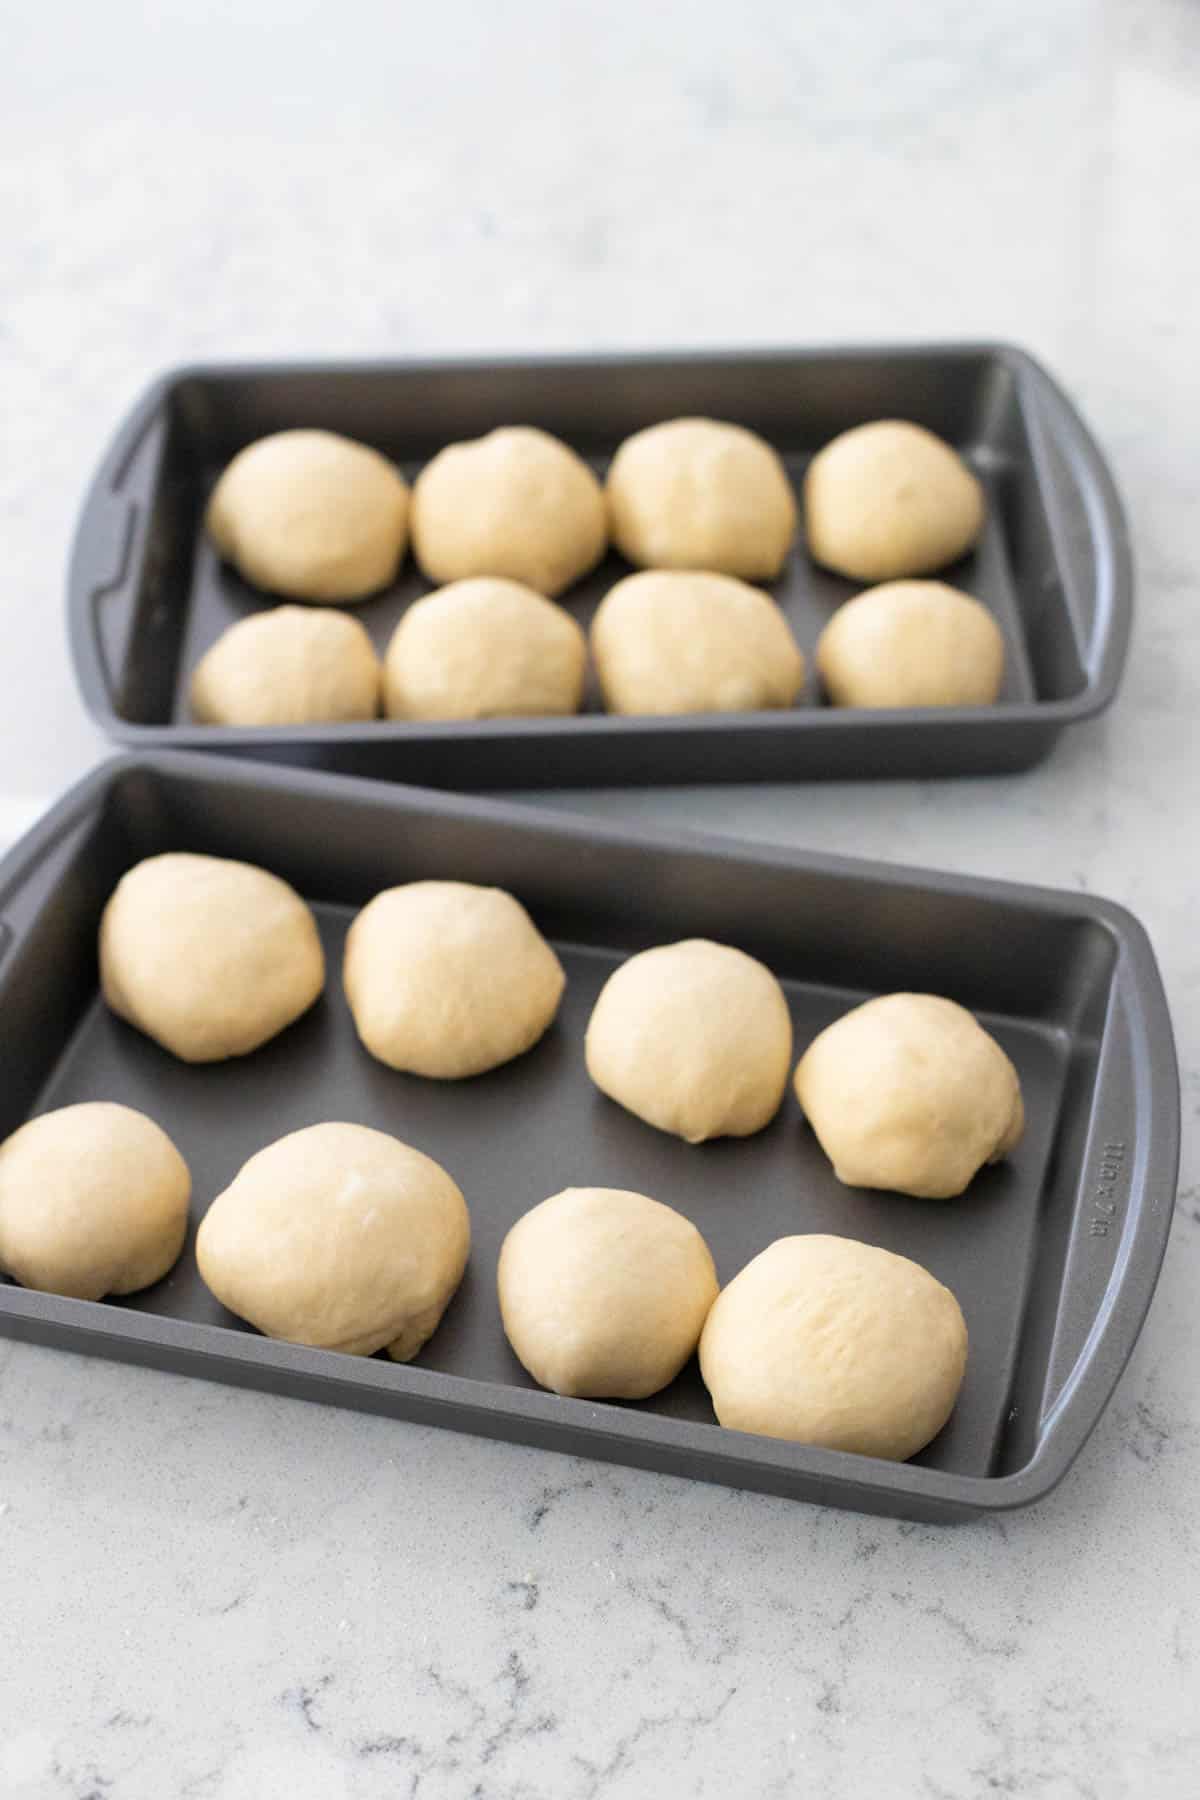
Once the rolls are all lined up, cover the pans in plastic wrap and let the rolls rise for 30 minutes.
Pre-Bake the Rolls
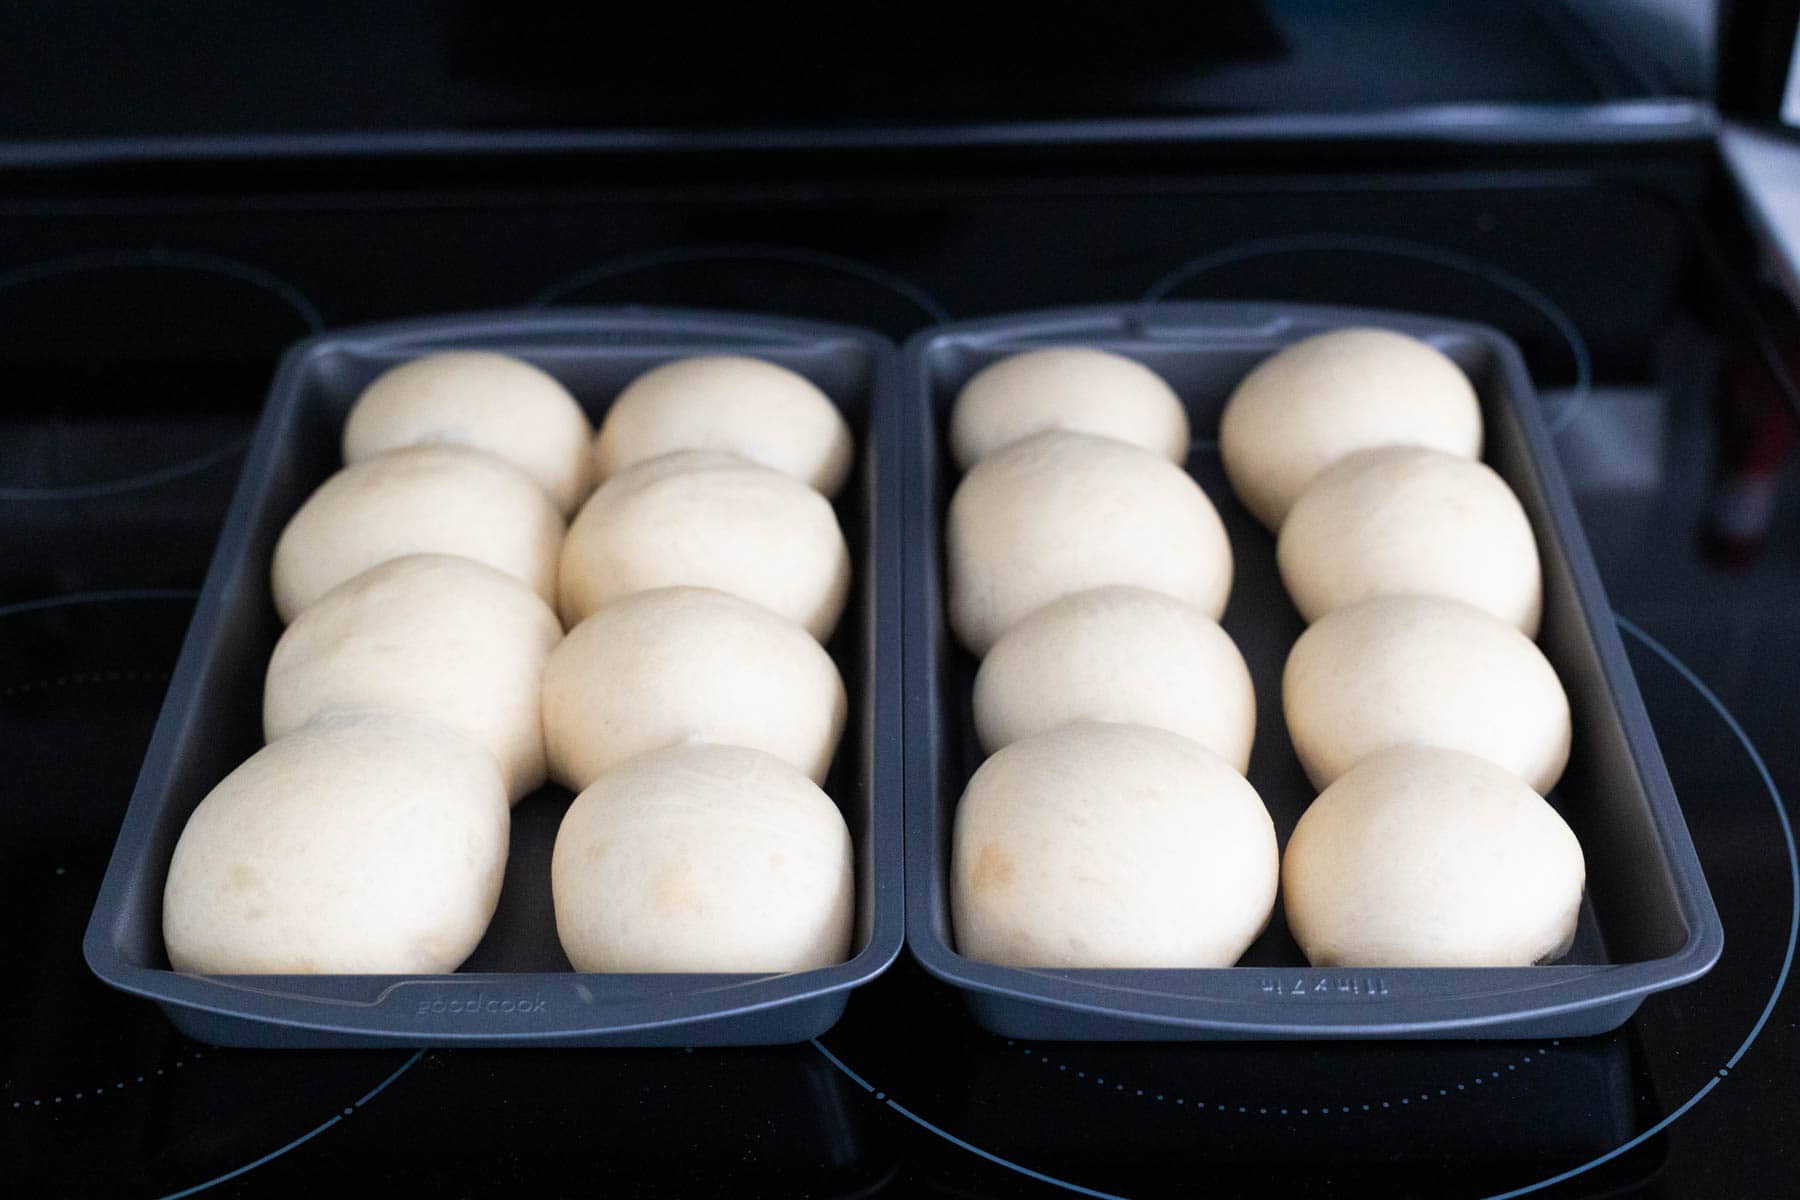
Preheat the oven to 300°F.
I like to place my pans on the stovetop so that the warmth of the oven helps rise the rolls.
Bake the buns for just 15 minutes. They will appear very pale like this:
PRO TIP: If your oven is temperamental like mine is, it can be very helpful to place a large baking sheet on the center rack of your oven while it preheats. It will come up to the same temperature of the oven.
Then place your pans of dinner rolls directly on that baking sheet. The hot even surface will help to brown the underside of the rolls.
Freeze or Refrigerate Instructions
Let the dinner rolls cool completely to room temperature before you attempt to store them, you don't want the heat from the bread to steam inside your packaging or you'll have soggy wet buns when they thaw.
CONTAINER:
If you don't want to store the rolls in the baking pan you baked them in, you could transfer them to plastic zip top bags. Just plan to add them back to a baking dish later.
Alternatively, you could pre-bake the rolls in disposable foil pans and store them right in the pans.
REFRIGERATE:
You can stash the dinner rolls inside of a storage bag and keep them in the refrigerator for up to 3 days.
FREEZE:
If you want to freeze the brown and serve rolls, you can use freezer storage bags or do a very thick wrap of freezer aluminum foil. They will keep in the freezer for 3 weeks.
Thawing Instructions
When you want to use your prepared dinner rolls, you'll want to thaw them in the fridge overnight or open up their storage container and allow them to thaw at room temperature on your counter top.
How to Brown and Serve
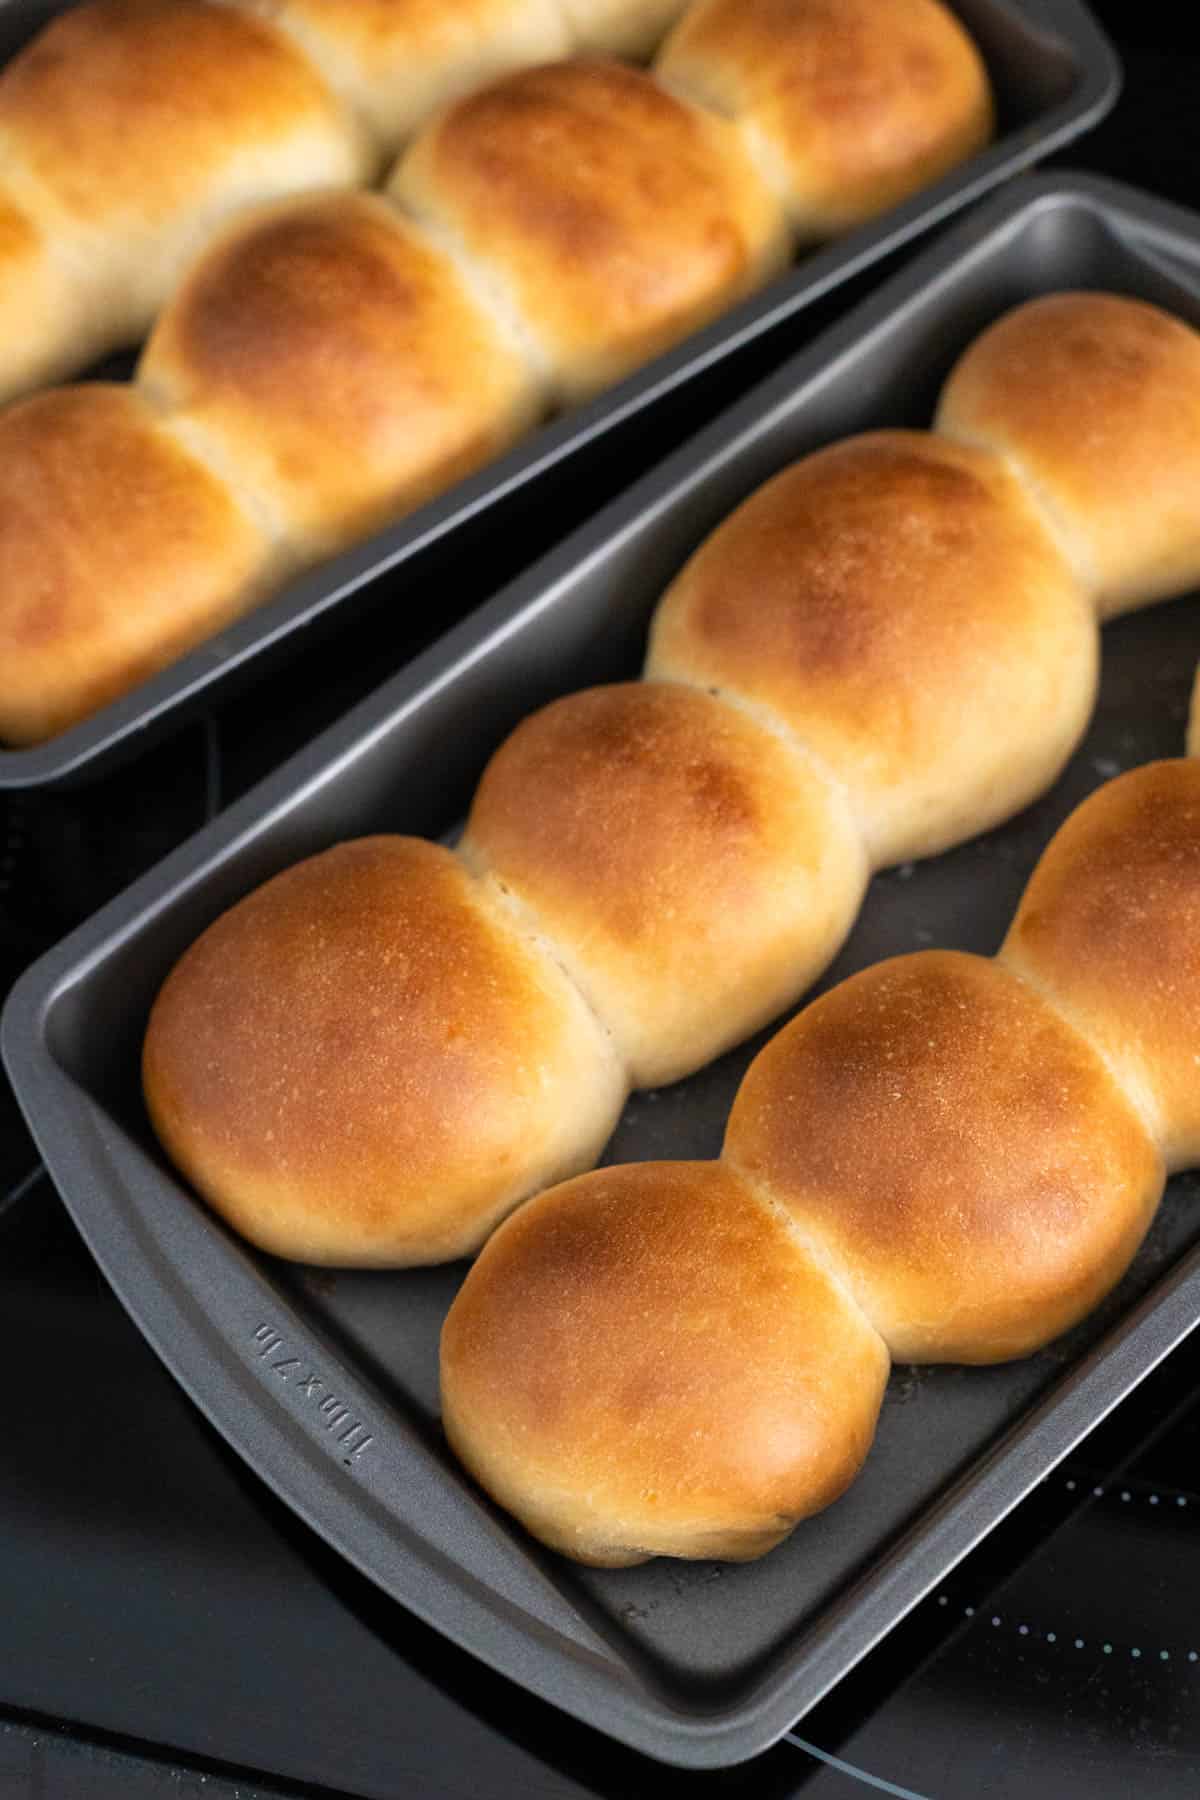
Brush melted butter over the tops of the buns while you preheat the oven to 375°F.
Bake the dinner rolls for 10 - 14 minutes or until the tops are golden brown and the buns are warmed through.
I use the same upside-down baking sheet trick in my oven as I did for the pre-bake when I do the final bake, it helps the bottoms get nice and brown, too.
Serving Suggestions
You could pair a fluffy warm dinner roll with a cozy bowl of soup on soup night. Enjoy it with soft butter at the table. I love to put my bread maker to work when I've got one of these Crockpot soup recipes simmering away.
These elegant brown and serve dinner rolls are an excellent homemade version that is so much more delicious than store bought buns for a special holiday meal. They would be an amazing part of your Thanksgiving, Christmas, or Easter menus, too.


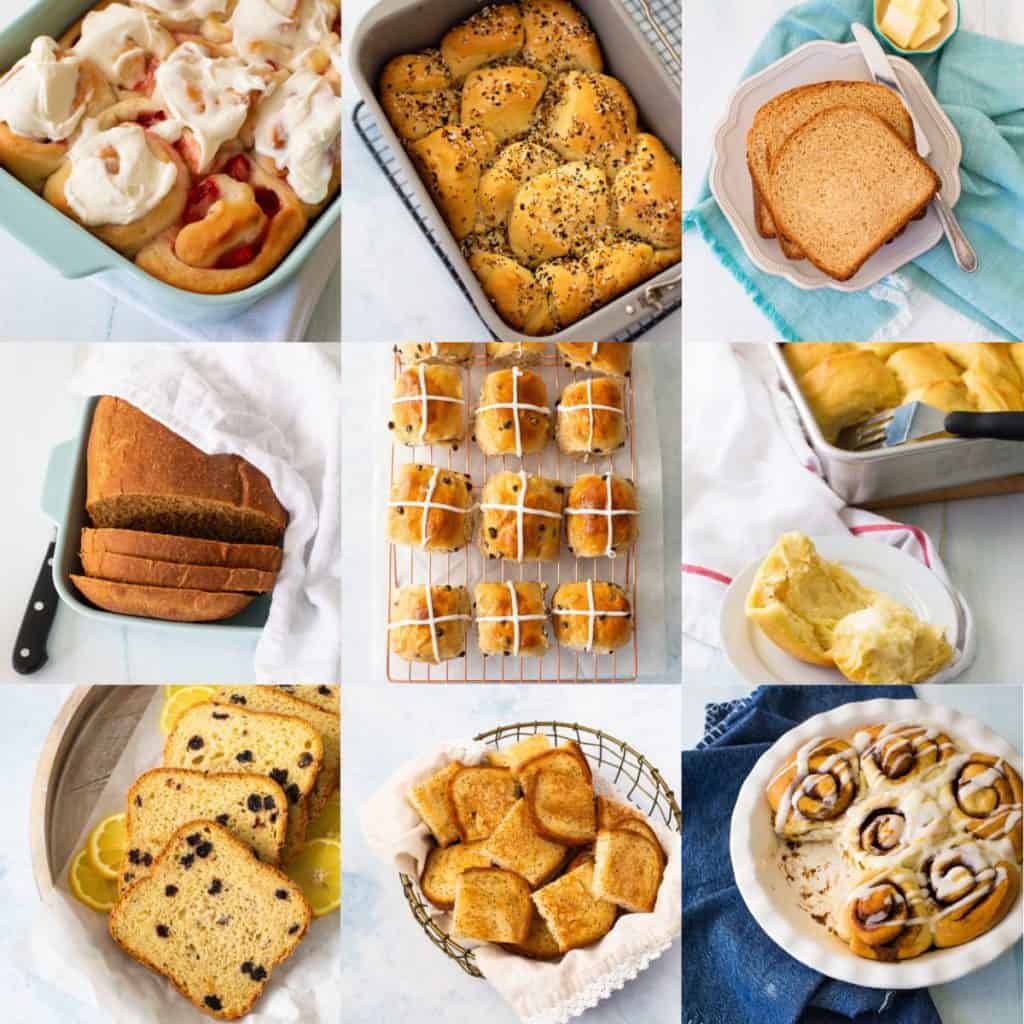
More Bread Machine Recipes
If you love warm fresh bread like we do, you won't want to miss these other delicious and easy bread maker recipes:


📖 Recipe
Brown and Serve Dinner Rolls
Ingredients
For the Bread Dough:
- 1 cup + 1 tablespoon milk I used 2%
- 3 tablespoons honey
- 2 eggs
- 6 tablespoons softened butter diced
- 4 1/4 cups all-purpose flour
- 1 1/2 teaspoons kosher salt
- 2 1/2 teaspoons active dry yeast
For the Finished Dinner Rolls:
- 4 tablespoons butter melted
Instructions
Prepare the Dinner Rolls:
- Add all the ingredients for the bread dough to the bread machine pan fitted with the paddle attachment in the order they are listed, starting with the liquid ingredients and ending with the dry ingredients right on top.
- Add the bread pan to the bread maker and select the DOUGH program. Press start.
- The dough should be ready to work with in about 1 1/2 hours. Meanwhile, set out the cake pans or aluminum foil pans you plan to bake the dinner rolls in. You can use 1 9x13-inch pan, 2 11x7-inch pans, 2 9-inch pans, or 2 cake pans.
- Transfer the dough to a lightly floured surface and divide it in half. Then divide each half into 8 equal portions, making a total of 16 dinner roll portions.
- Shape the dinner rolls and place in your pans. Let them rise for 30 minutes or until they have doubled in size.
- Preheat the oven to 300°F. Bake the dinner rolls in the center of the oven for just 15 - 20 minutes. They should bake through but should not get golden brown.
- Remove the dinner rolls from the oven and let cool completely.
Storage Instructions:
- Place the pans of rolls in a freezer-friendly storage bag or wrap them in heavy-duty freezer foil. You can refrigerate them for up to 3 days or freeze them for up to 3 weeks.
Brown and Serve:
- Thaw frozen dinner rolls on the counter or in the refrigerator overnight.
- Preheat the oven to 375°F. Meanwhile, brush the dinner rolls with the melted butter.
- Bake the rolls for 10 - 14 minutes or until golden brown. Serve warm.
The post Brown and Serve Dinner Rolls appeared first on Peanut Blossom.